What’s 3D?
- Do you need special glasses?
What is a 3D Render?
Put simply, a 3D render is an image created (or generated) on a computer from three-dimensional models – otherwise known as CGI (Computer Generated Imagery).
Historically, 3D rendering was exclusive to large organisations with substantial budgets – think Hollywood, where studios use 3D animation in blockbuster films. However, technological advances, such as faster and more affordable computers and improved rendering software, have made this process accessible to businesses of all sizes.
Now, with our expertise, even smaller brands can achieve stunning, high-quality renders without breaking the bank. Your products can look as polished and professional as those of the industry giants!
Creating 3D Renders
From initial concept to the final, polished render, our process transforms an idea into a stunning 3D render, step by step.
Every great render starts with a 3D model. Whether we build it from scratch or use existing CAD files, this first step sets the foundation. From there, we bring the model to life with simulated lighting and materials, ensuring everything looks realistic. The magic truly happens as we explore textures and refine every detail, crafting the product into something that feels tangible.
Once the composition is locked in, we generate test renders to fine-tune lighting, textures and camera angles until everything aligns perfectly with your vision. After final approval, we produce the high-resolution renders and process them with post-production, delivering a polished render ready for your use. Below is a more detailed breakdown of each step.
3D Modelling
[001]
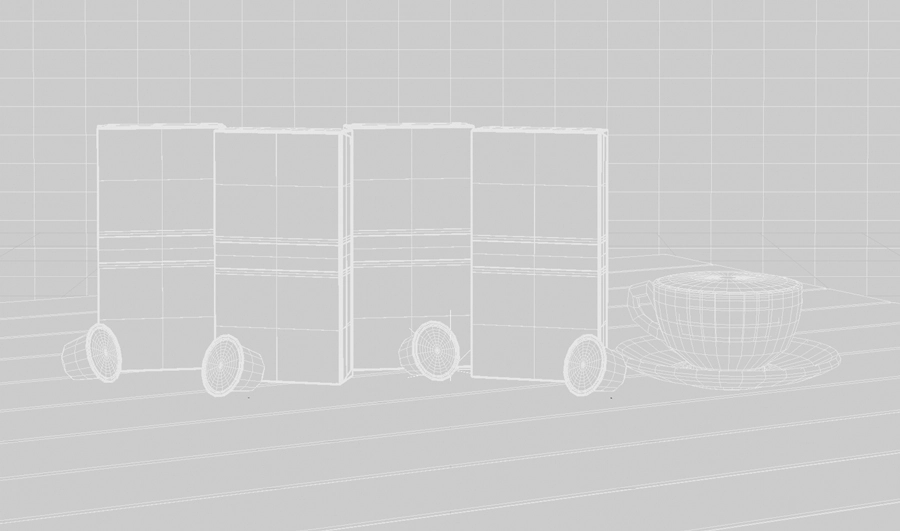
The first step of every job starts with the creation of the object (the product) that is required in the render (the wireframe). This 3D model can either be made from scratch or from an existing CAD file.
Lighting & Scene Creation
[002]
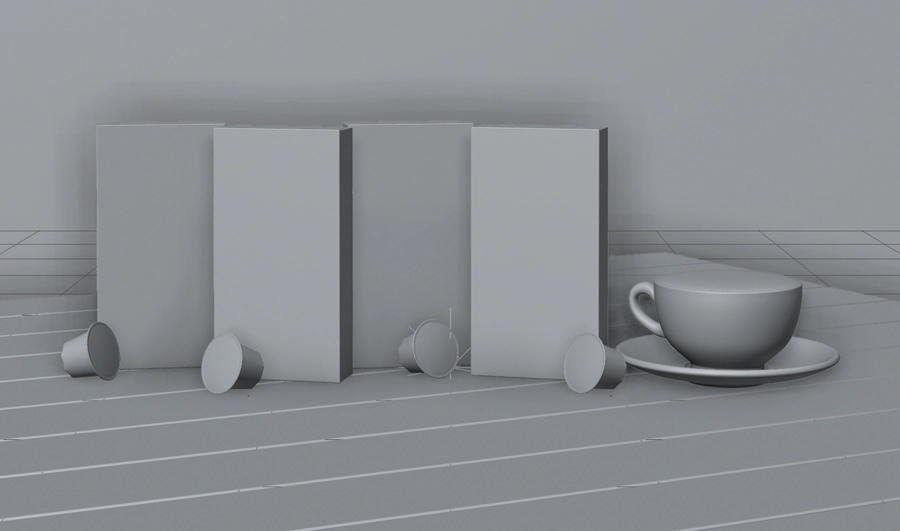
During this stage, artificial or natural light sources are simulated using the 3D computer software. The software generates lighting effects like light refraction and depth to improve the appearance of the render. Lighting can also be added to enhance or perceive the three-dimensionality of the scene through shadows and highlights on the product’s surfaces.
Texturing & Materials
[003]
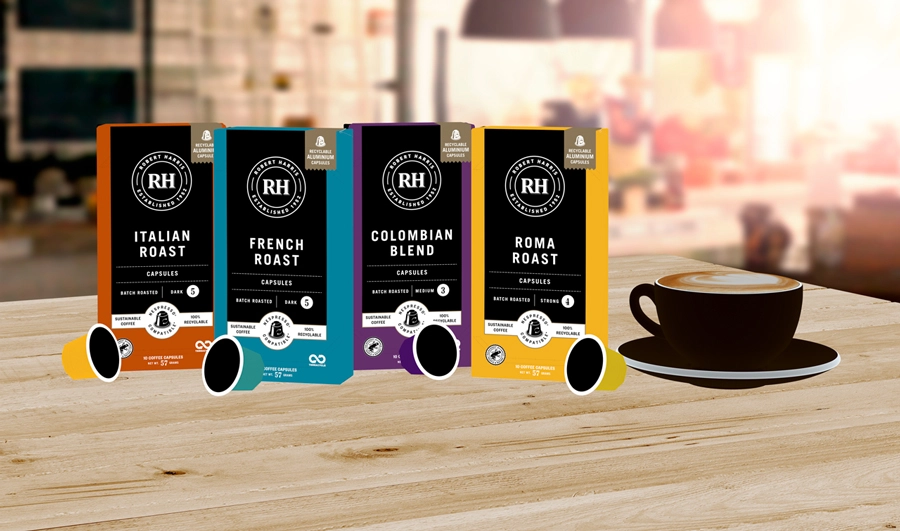
The software is used to create and map textures or materials on to the 3D objects in the scene. Think of this as shrink-wrapping a flat material, photo or texture around the surface of the 3D object. Good texturing and lighting is key for photorealistic 3d-rendered images.
Rendering
[004]
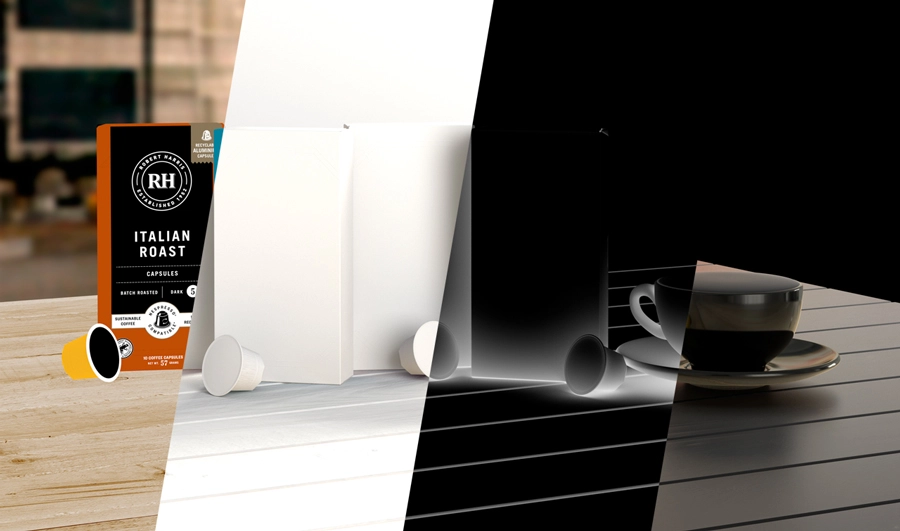
This is where the final render is generated. At this stage, the 3D-modelling software converts the 3D scene into a high-resolution single image. The subsequent files that come from this stage are similar to the RAW files that are produced by modern-day digital cameras but have way more levels of complexity - which, in turn, allows for more complex corrections and realism.
Post-Production
[005]
Just like a photographer, the photo that comes off the camera isn’t usually what the photographer shows you. It can have many hours of work applied to it to add the finishing touches and final details – photographers call this stage ‘processing’. And, just like a photographer, this is done to all our renders. Multiple raw render files are brought together to create the final rendered image using our usual weapon of choice, Abobe Photoshop

- Ready to explore the power of 3D?
